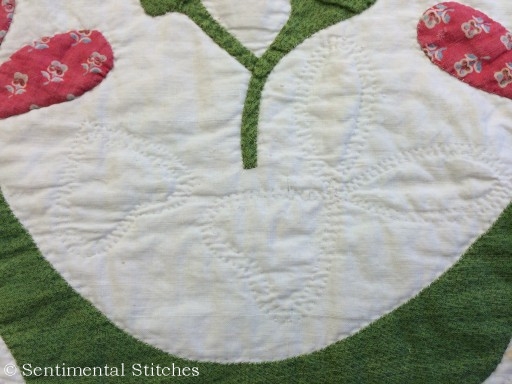
There’s lots of information to cover in today’s installment of the Benjamin Biggs quilt. We’ll be working on the 6th block and you can start working on your borders if you want to!
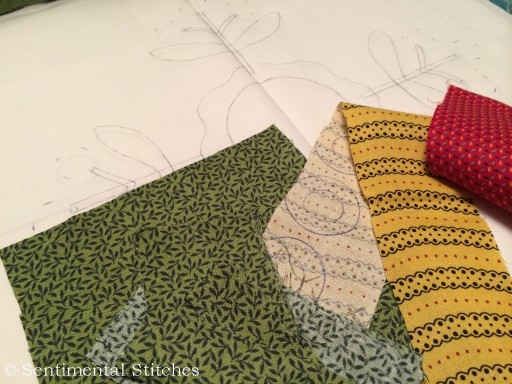 Some of you may remember seeing this photo of Block 6 in progress. It’s a good thing I didn’t get any further than basting a few leaves and stems.
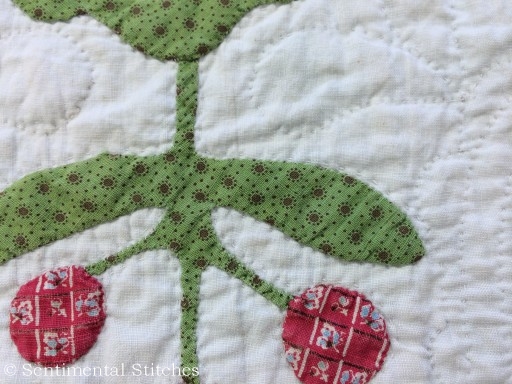 The cherry branches on the antique quilt were appliqued in one piece! I didn’t notice that the block pattern was different from the original until I started pulling pictures to look at the fabrics. I’ve included a drawing for the branch all in one piece if you’re like me and want to make your block that way. I love the delicate look it gives the block. The pattern has things divided into individual stems and leaves which will look nice, but I’m just a too crazy about honoring what the original maker of the block intended to divide things up like that. Good lesson learned – look at the pictures before starting your block!
Block 6
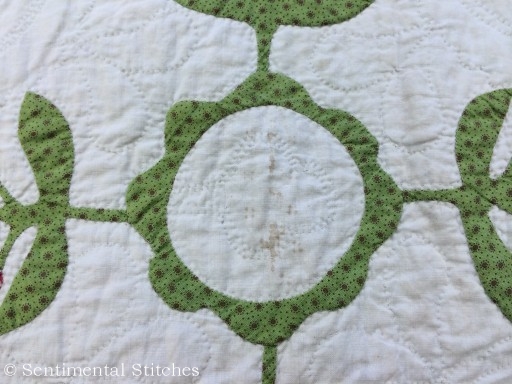 Unfortunately the signature on this block has faded away and we can’t tell who the maker was but I think you’ll agree, it’s a very pretty block. I wonder why this one didn’t hold up as well as the others?
 This block has one red and one green fabric in it. I wish I had yards and yards of this green dot! If you want a better look at the quilting, click on the picture of the full block and it should enlarge for you to the original size so you can look things over. In fact, all the pictures should do that if you want to see something more closely.
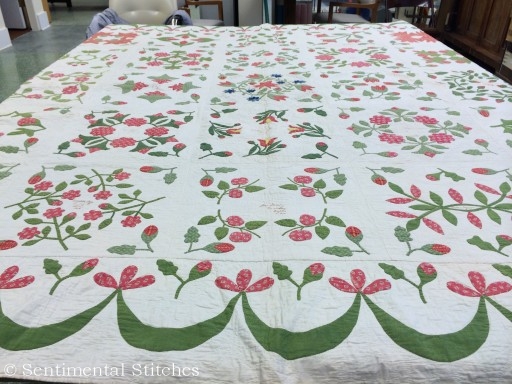 You’ll also be downloading the border pattern today (included with the block) and can start working on the applique if you’d like. The pattern has instructions for starting in the center of your border strips and working out in both directions to the ends. You can make any adjustments necessary when you get to the corners just like you do when marking a quilting design on a border.
 We found the border to be one of the most interesting things about the quilt. It appears the quilt was made with a border on three sides and the fourth side was added later.
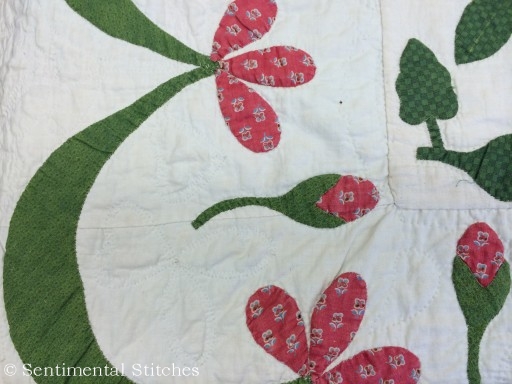 This little rosebud was added after the quilting was completed.
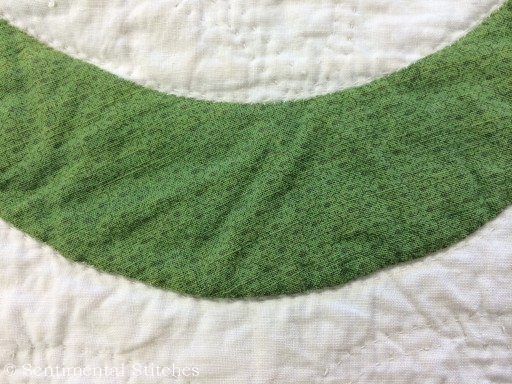 The green print used in the border.
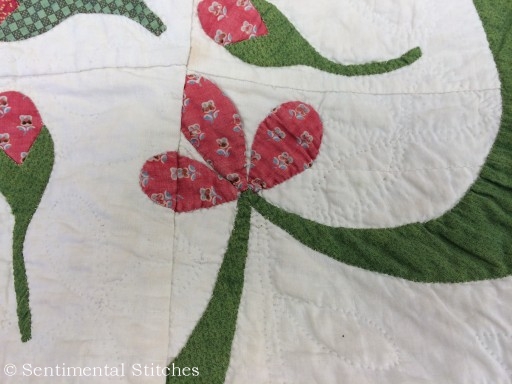
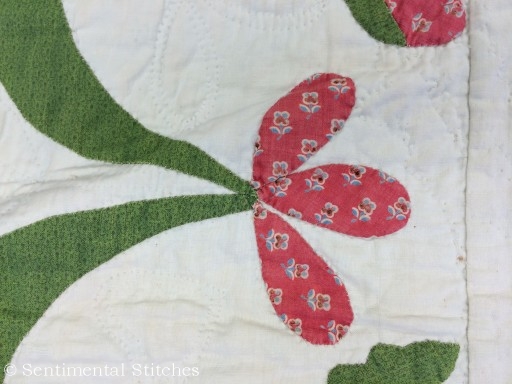 The red teardrops that connect the swags.
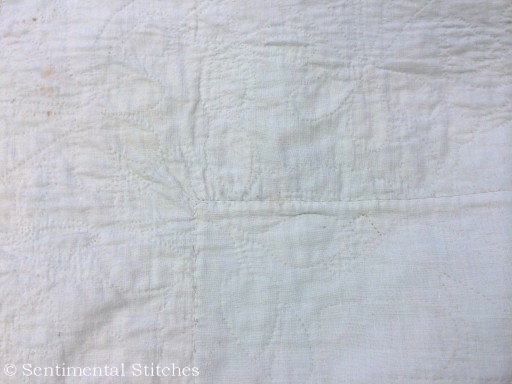 Interesting way the back was finished when the border was added.
Have fun with this block and the border. Email us if you have any questions.
Just Takes 2™ Benjamin Biggs Quilt Block 6 and Border – Click here


